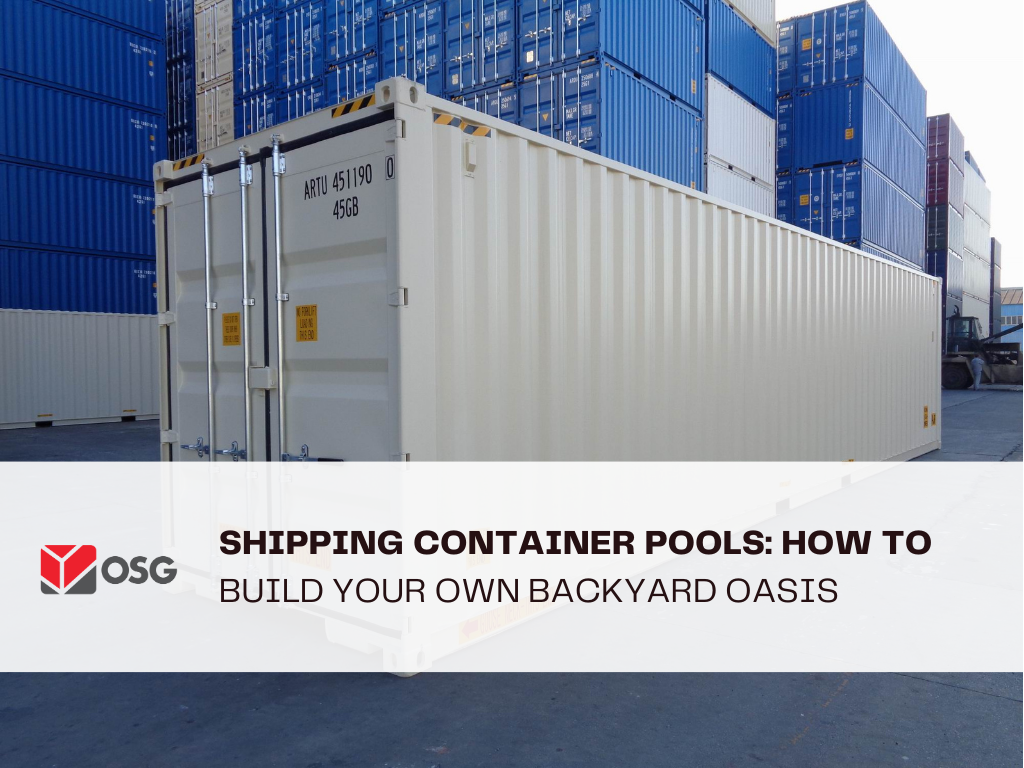
Shipping Container Pools: How to Build Your Own Backyard Oasis
In recent years, shipping container pools have emerged as a stylish, practical, and eco-friendly option for those looking to create a unique backyard oasis. This innovative use of shipping containers not only offers a refreshing way to beat the heat but also provides a sustainable and cost-effective solution. If you’re considering adding a shipping container pool to your backyard, here’s a comprehensive guide on how to build your own personal retreat.
Why Choose a Shipping Container Pool?
**1. Cost-Effective Solution: Shipping container pools are often more affordable than traditional in-ground pools. The cost of the container itself is relatively low compared to excavation, materials, and installation of conventional pools.
**2. Eco-Friendly: Repurposing shipping containers reduces waste and supports sustainable practices. Using a container for a pool means you’re giving new life to something that might otherwise end up in a landfill.
**3. Quick and Easy Installation: Shipping container pools can be installed much faster than traditional pools. They often require less site preparation and can be placed in a variety of locations, including smaller yards.
**4. Durable and Low Maintenance: Shipping containers are built to withstand harsh conditions during transit, making them incredibly durable. Once transformed into a pool, they require less maintenance compared to traditional pool structures.
Steps to Build Your Shipping Container Pool
**1. Planning and Design
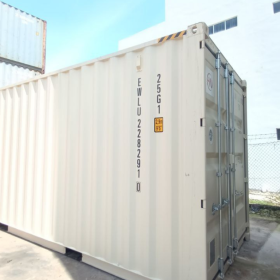
- Determine Size and Placement: Decide on the size of your pool based on your backyard space and your needs. Containers come in various sizes, with the most common being 20 feet and 40 feet long. Choose a location in your yard that receives adequate sunlight and has good drainage.
- Check Local Regulations: Before starting, check with local authorities for zoning laws and building codes. You may need permits or approvals for the installation.
**2. Prepare the Site
- Site Assessment: Evaluate the ground where the pool will be placed. Ensure it is level and can support the weight of the container filled with water. You may need to clear the area and prepare a solid foundation, such as a concrete slab or gravel base.
- Excavation and Base: Excavate the area to fit the container and lay a base that will provide stability and drainage.
**3. Modify the Shipping Container
- Cutting and Reinforcement: Depending on your design, you may need to cut openings for steps, windows, or additional features. Reinforce the container as needed to ensure it can handle the pressure of the water.
- Waterproofing: Apply a waterproof coating or liner inside the container to prevent leaks and rust. This step is crucial for the longevity of your pool.
**4. Installation
- Transport and Placement: Use a crane or specialized equipment to move the container to its designated spot in your backyard. Ensure it is properly aligned and secure.
- Plumbing and Electrical Work: Install the necessary plumbing for water supply and drainage. You may also want to add features such as a filtration system, heating, or lighting. Professional help may be required for these installations.
**5. Finishing Touches
- Interior Design: Customize the interior of your pool area. You can add steps, seating, or decorative elements. Consider tiling or painting the interior for an enhanced look.
- Landscaping: Surround your container pool with landscaping that complements your outdoor space. Add decking, planters, or a pergola to create a relaxing environment.
**6. Maintenance
- Regular Cleaning: Maintain your pool by regularly cleaning and checking the filtration system. Ensure that the waterproofing remains intact to prevent leaks.
- Seasonal Care: Prepare your pool for different seasons. In colder climates, you may need to winterize the pool or add a cover to protect it from the elements.
Tips for Success
- Professional Help: Consult with professionals who have experience with shipping container pools. They can provide valuable insights and help with complex tasks like waterproofing and plumbing.
- Customization: Take advantage of the flexibility of shipping containers to create a pool that fits your style and needs. Incorporate features like built-in seating, LED lighting, or even a small deck for lounging.
- Safety First: Ensure that safety measures are in place, especially if you have children or pets. Consider adding a pool cover or fencing to prevent accidents.
Conclusion
Building a shipping container pool is an exciting and rewarding project that can transform your backyard into a luxurious retreat. By following these steps and considering the tips provided, you can create a stylish, functional, and eco-friendly pool that will be the envy of your neighborhood. Embrace the innovation of shipping container pools and enjoy your very own backyard oasis.