
Planning with a 20ft container size
A standard 20ft container size measures 20 feet long by 8 feet wide and 8 feet 6 inches high externally, yielding an internal volume of roughly 1,172 cubic feet. Because steel walls, corrugation, and door frames reduce usable clearance, careful planning is required to optimize cargo capacity and prevent loading delays.
Understanding the core constraints of a 20ft container size
You cannot pack a 20ft container size to the absolute edge of its exterior dimensions, because steel walls, corner posts, and corrugation eat up precious space. When you plan a shipping route or a static storage layout, you need to work with the exact physical boundaries that define standard intermodal equipment. We see many operators guess their capacities based on external footprints, only to find their cargo falls short of fitting by a few crucial inches. Understanding these boundaries protects your budget and prevents costly repacking delays at your loading dock.
Internal dimensions and space limitations
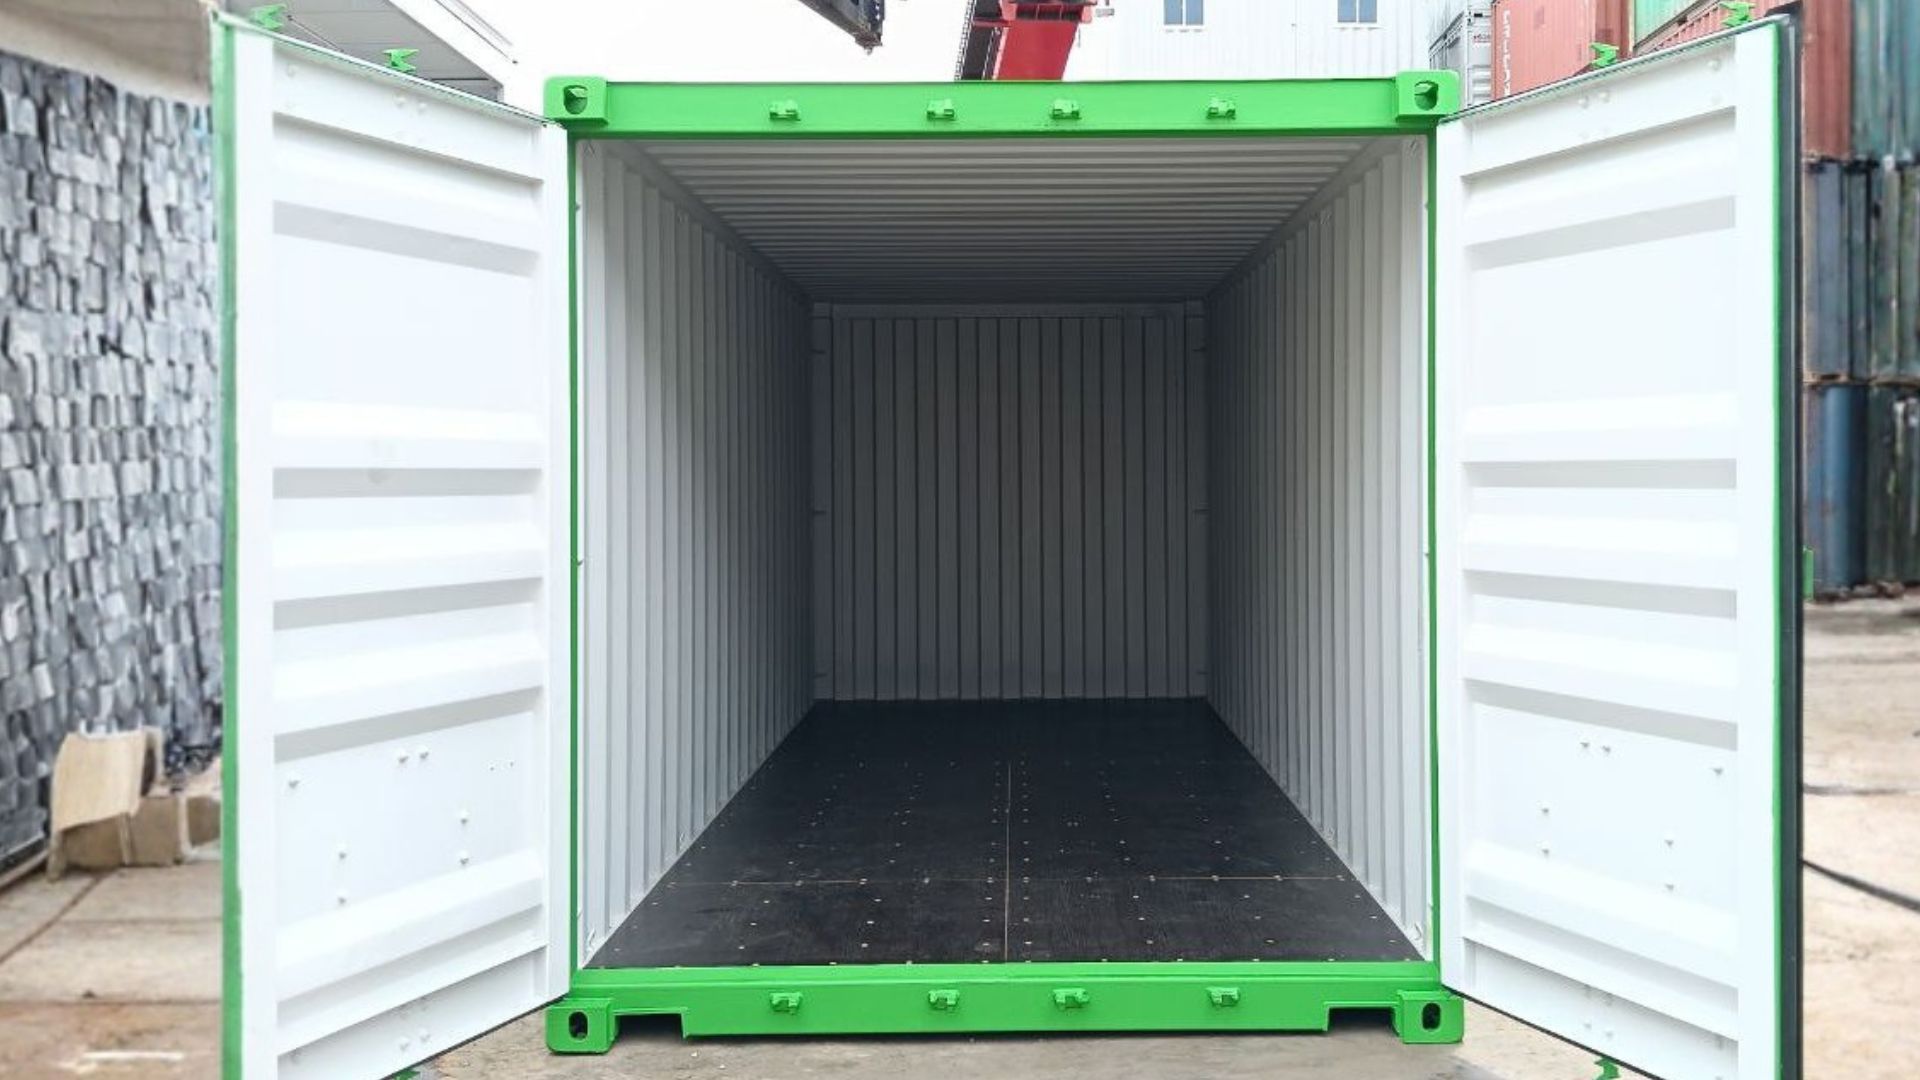
Inside a standard 20-foot dry unit, you have a length of roughly 19 feet 4 inches, a width of 7 feet 8 inches, and a height of 7 feet 10 inches. This gives you a total usable volume of about 1,172 cubic feet. However, your actual packing space shrinks once you account for floor corrugation and wall linings. If you load standard pallets, you have to remember that internal side linings and door gaskets reduce your side-to-side clearance. You must measure your tallest items against the door frame height, which is often lower than the interior ceiling clearance due to the overhead header bar.
External measurements and placement factors
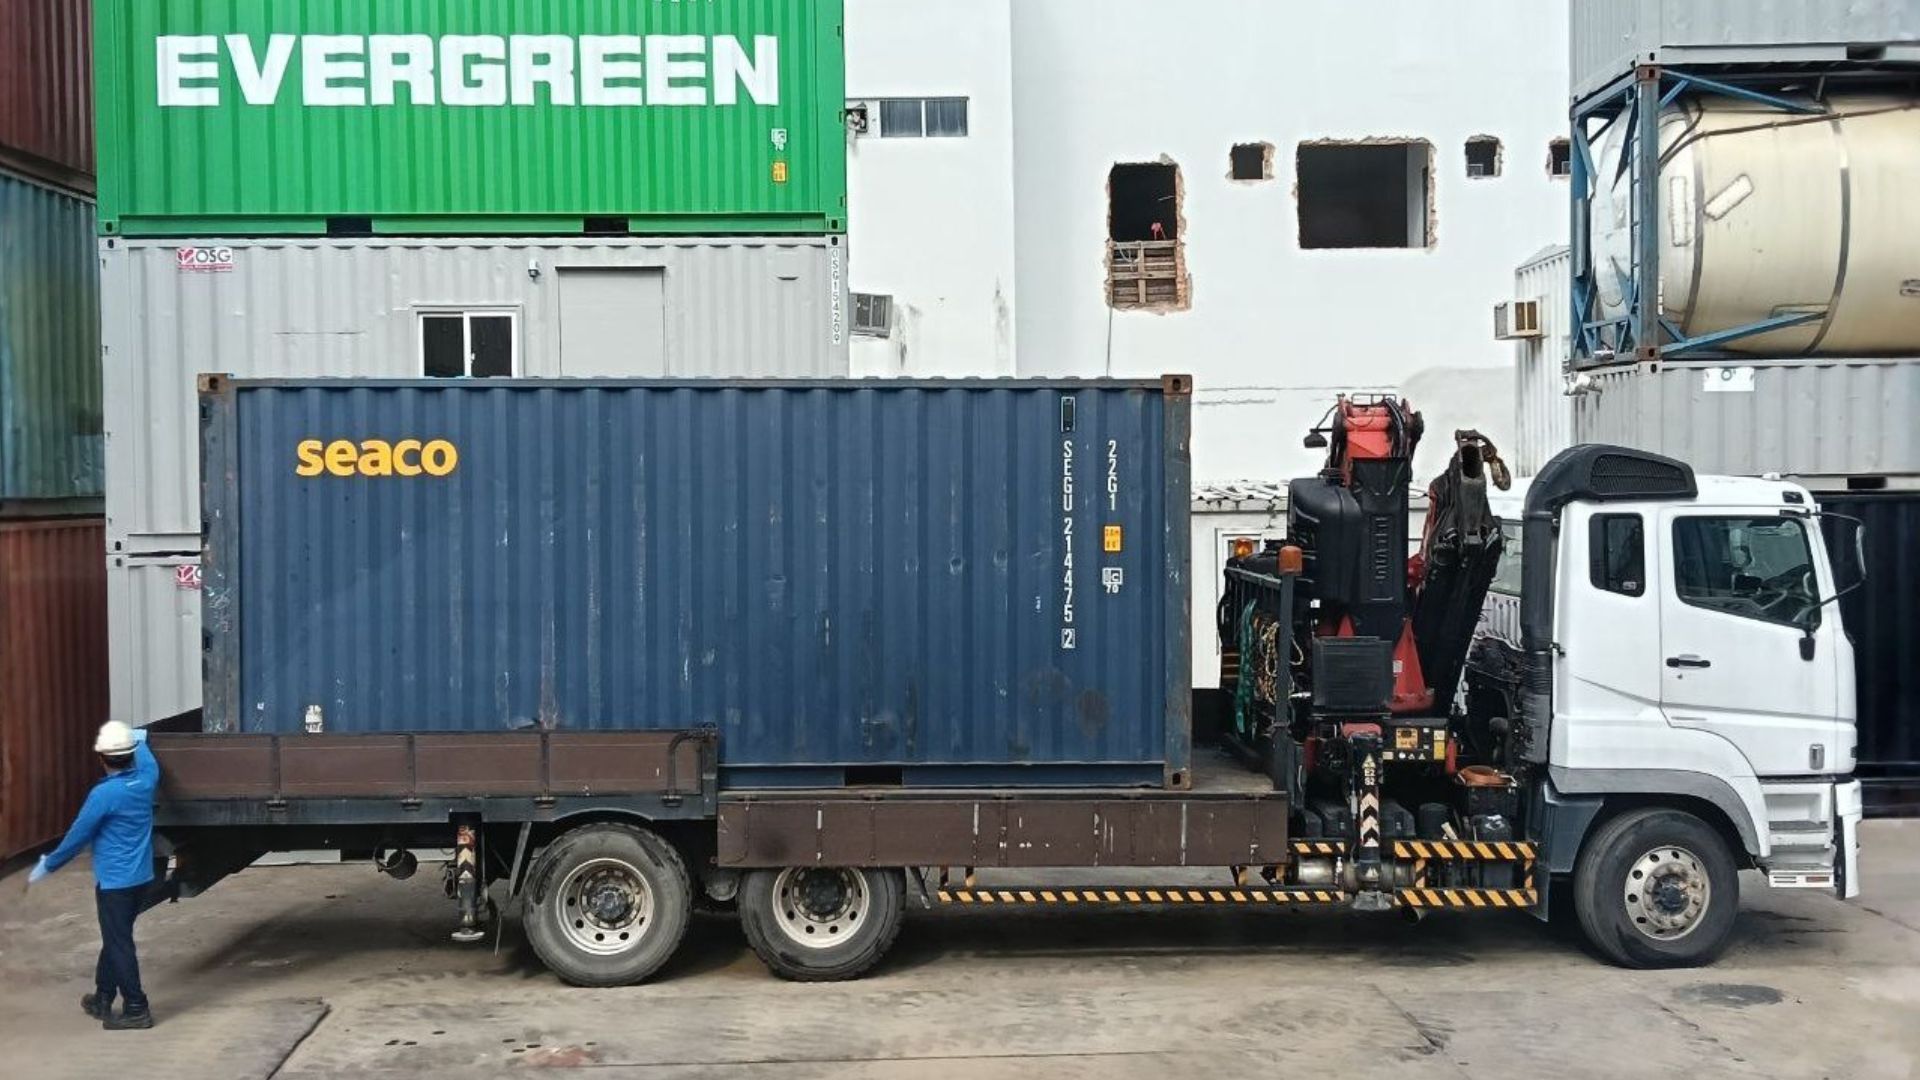
On the outside, the box measures 20 feet long, 8 feet wide, and 8 feet 6 inches high. If you choose a high-cube variant, you add another foot of height, which changes how you clear low-hanging utility lines and site gates. When you place this unit on the ground, you need a firm, level pad that exceeds the 20-foot footprint to allow for support blocks and leveling jacks. Delivery trucks also require significant maneuvering space. A standard tilt-bed truck needs about 60 feet of straight clearance in front of the drop zone simply to slide the box off safely without jackknifing.
Why standard estimating methods fail for a 20 ft container size
Simple math based on length times width will always mislead you when you plan around a 20 ft container size. Standard calculators assume empty, frictionless space where every cubic inch accepts cargo without loss. Reality introduces physical obstructions, structural framing, and cargo geometry that disrupt simple formulas. If you rely on basic floor area estimates, you will overestimate your carrying capacity by ten to fifteen percent every single time.
Overlooking door clearance and frame thickness
Cargo width at the doors is narrower than the internal width of the box because of the heavy steel locking rods and hinges. If you try to slide in a rigid crate that matches the interior width precisely, it will jam against the door frame. You must also account for the swing of the doors. Double doors require a full 270-degree swing range if you want them to rest flat against the exterior walls during loading. If your site has walls or fences close to the doors, your loading crew will struggle to maneuver forklifts and pallet jacks past partially opened panels.
Misjudging pallet stacking limitations
Standard industrial pallets rarely fit into a 20-foot footprint in a neat, symmetrical grid. A standard North American pallet measures 48 by 40 inches, while a standard European pallet measures 47.2 by 31.5 inches. When you place them side by side on the floor, their rectangular dimensions leave gaps that do not divide evenly into the 92-inch interior width of the box. You either lose floor space to empty gaps or you spend extra labor hours building custom load configurations. Stacking pallets vertically compounds this issue because floor weight limits rarely allow you to double-stack dense goods without crushing the lower tier.
Accurate calculation methods for container size selection
Getting your container size right requires treating your cargo volume as a puzzle rather than a liquid. You have to subtract dead space from your calculations before you commit to a purchase or a transport booking. We recommend building a scale floor plan of your goods before any heavy lifting begins on site. This simple step stops your team from discovering mid-load that the final pallet will not clear the roof header.
| Metric Type | Standard 20ft Specification | Usable Practical Limit |
|---|---|---|
| External Length | 20 ft 0 in (6.06 m) | Requires 60 ft truck clearance |
| Internal Width | 7 ft 8 in (2.35 m) | 7 ft 4 in between side ribs |
| Door Opening Height | 7 ft 5 in (2.28 m) | 7 ft 3 in under top header |
| Max Gross Weight | 67,200 lbs (30,480 kg) | Subject to road weight limits |
Measuring usable volume versus total capacity
Your total design volume means nothing if your cargo shape prevents tight packing. To find your true usable volume, follow this calculation process:
- Measure the exact bounding box of each individual item, including its protective crating and packaging materials.
- Calculate the raw floor area of your unit by multiplying the internal length by the internal width.
- Subtract ten percent from your total volume to account for ventilation gaps, lashing space, and wall clearance.
- Verify that your remaining volume accommodates your tallest items without touching the ceiling corrugation.
Factoring in weight distribution limits
Weight management is just as critical as spatial volume. A standard dry box can handle a maximum gross weight of over 67,000 pounds, but highway weight regulations often restrict you long before you hit that structural ceiling. When you load dense materials like steel or stone, you must spread the weight evenly across the wooden floorboards. If you concentrate too much weight in the center, you risk damaging the cross-members underneath. Always place your heaviest items on the bottom and keep the center of gravity as low and central as possible.
Optimizing layout strategies for your container 20ft
Maximizing every inch inside your container 20ft takes disciplined staging and clever cargo sequencing. If you load items as they arrive at the dock, you will inevitably create pockets of wasted air and unstable stacks. Professional loaders always stage their freight outside the unit first, grouping items by weight, shape, and final destination accessibility.
Maximizing floor space utilization
Start your load by placing your largest, heaviest items against the front wall near the CSC plate to lock the base of your shipment in place. Work your way toward the doors by interlocking smaller boxes around the perimeter of the larger crates. Use dunnage bags or rubber mats to fill small gaps between items, which stops your cargo from shifting during transit. If you have irregularly shaped machinery, secure it to wooden skids so you can push it smoothly across the marine-grade plywood flooring without snagging.
Arranging items for safe transport and access
If you need to retrieve items from your unit before the final destination, you must design a clear center aisle or a tiered unloading pathway. Never pack fragile goods underneath heavy crates unless you build an interim wooden mezzanine shelf to support the upper weight. Use ratchet straps anchored to the interior tie-down rings to secure every vertical column. A sudden stop on the highway can turn loose boxes into dangerous projectiles that crush your doors outward from the inside.
- Inspect the empty interior for any protruding nails, old strapping, or moisture pooling on the floor.
- Lay down protective plastic sheeting or moisture barrier mats if you are storing sensitive organic goods.
- Stage your heaviest pallet loads right over the center point of the chassis to ensure balanced towing dynamics.
- Build your load outward in tight vertical walls, checking plumb alignment with a level as you go.
- Secure the final row near the doors with a heavy-duty shoring bar or cargo net to prevent shifting during transit.
Verifying your operational setup with the 20ft container
Before you sign off on a transport run or lock up your static site, you need a strict final verification routine. Small oversights during the closing phase lead to jammed doors, damaged goods, or highway fines for unsafe weight distribution. Taking ten minutes to check your work now protects your investment and ensures your operation runs smoothly.
Final site inspection checks
Walk around the exterior of the box and check that the unit sits level on its foundation blocks. If the ground settles unevenly, the steel frame twists slightly, which immediately misaligns the doors and makes them impossible to latch. Check the roof for standing water or debris, and confirm that the rubber door gaskets are pliable and free of cracks. A damaged gasket lets driving rain inside, ruining cargo within days.
Confirming load stability and door closure
Stand inside the unit with the doors pulled partially closed to check your interior lighting and ensure nothing leans against the inner panels. Push against your cargo stacks with your hands to test for excessive sway or looseness. Once you exit, close the right door first, making sure the vertical locking rods drop securely into their top and bottom keepers. Rotate the cam handles until the door seals compress tightly, then slip your security seal through the locking hole and record the serial number immediately.
Frequently Asked Questions
What is the size of a 20ft container?
A standard 20ft container measures 20 feet long, 8 feet wide, and 8 feet 6 inches high on the outside. On the inside, you get roughly 19 feet 4 inches of length, 7 feet 8 inches of width, and 7 feet 10 inches of height, giving you a total usable volume of about 1,172 cubic feet.