
How Long Can It Generally Take to Build a Container Shop?
Building a container shop generally takes between six and sixteen weeks from initial concept sketches to trading day. The duration hinges on permitting speed and structural complexity. Off-site fabrication takes two to four weeks, while site feasibility requires two to six weeks. Final utility hookup, craning, and site commissioning require another one to two weeks before handover.
While off-the-shelf conversion packages promise rapid turnaround times, real-world retail projects hit delays when planners question temporary land use or when contractors fail to brace large structural cutouts properly. We break the schedule down into five sequential phases so you can plan cash flow, equipment orders, and site handovers without unexpected delays.
| Phase | Typical Timeline | Core Focus | Primary Risk Factor |
|---|---|---|---|
| Stage 1: Feasibility & Permitting | 2 to 6 weeks | Zoning checks, soil tests, and council applications | Zoning classification disputes and boundary setbacks |
| Stage 2: Structural Modification | 1 to 2 weeks | Cutting apertures, framing, and installing lintels | Header sagging and corrugated shear loss |
| Stage 3: Thermal Fit-Out | 1 to 3 weeks | Insulation, vapor barriers, and interior paneling | Thermal bridging and hidden interstitial moisture |
| Stage 4: MEP Utilities | 1 to 2 weeks | Wiring circuits, breaker boards, supply lines, and waste drops | Undersized power supply and improper drain falls |
| Stage 5: Delivery & Handover | 1 to 2 weeks | Pad levelling, crane lift, anchoring, and snagging | Differential pad settling and binding doors |
Stage 1: How Long Do Site Feasibility and Permitting Take?
Site feasibility, zoning reviews, and municipal permitting take between two and six weeks before you spend money on steel fabrication or interior joinery. Many operators assume that mounting a unit on temporary skids bypasses building codes, but municipal boards usually classify any structure connected to main electrical lines or open to public foot traffic as a permanent commercial occupancy. Securing zoning clearance makes this stage the most unpredictable variable in your entire project schedule.
Verifying Utility Access and Structural Footprint Clearances
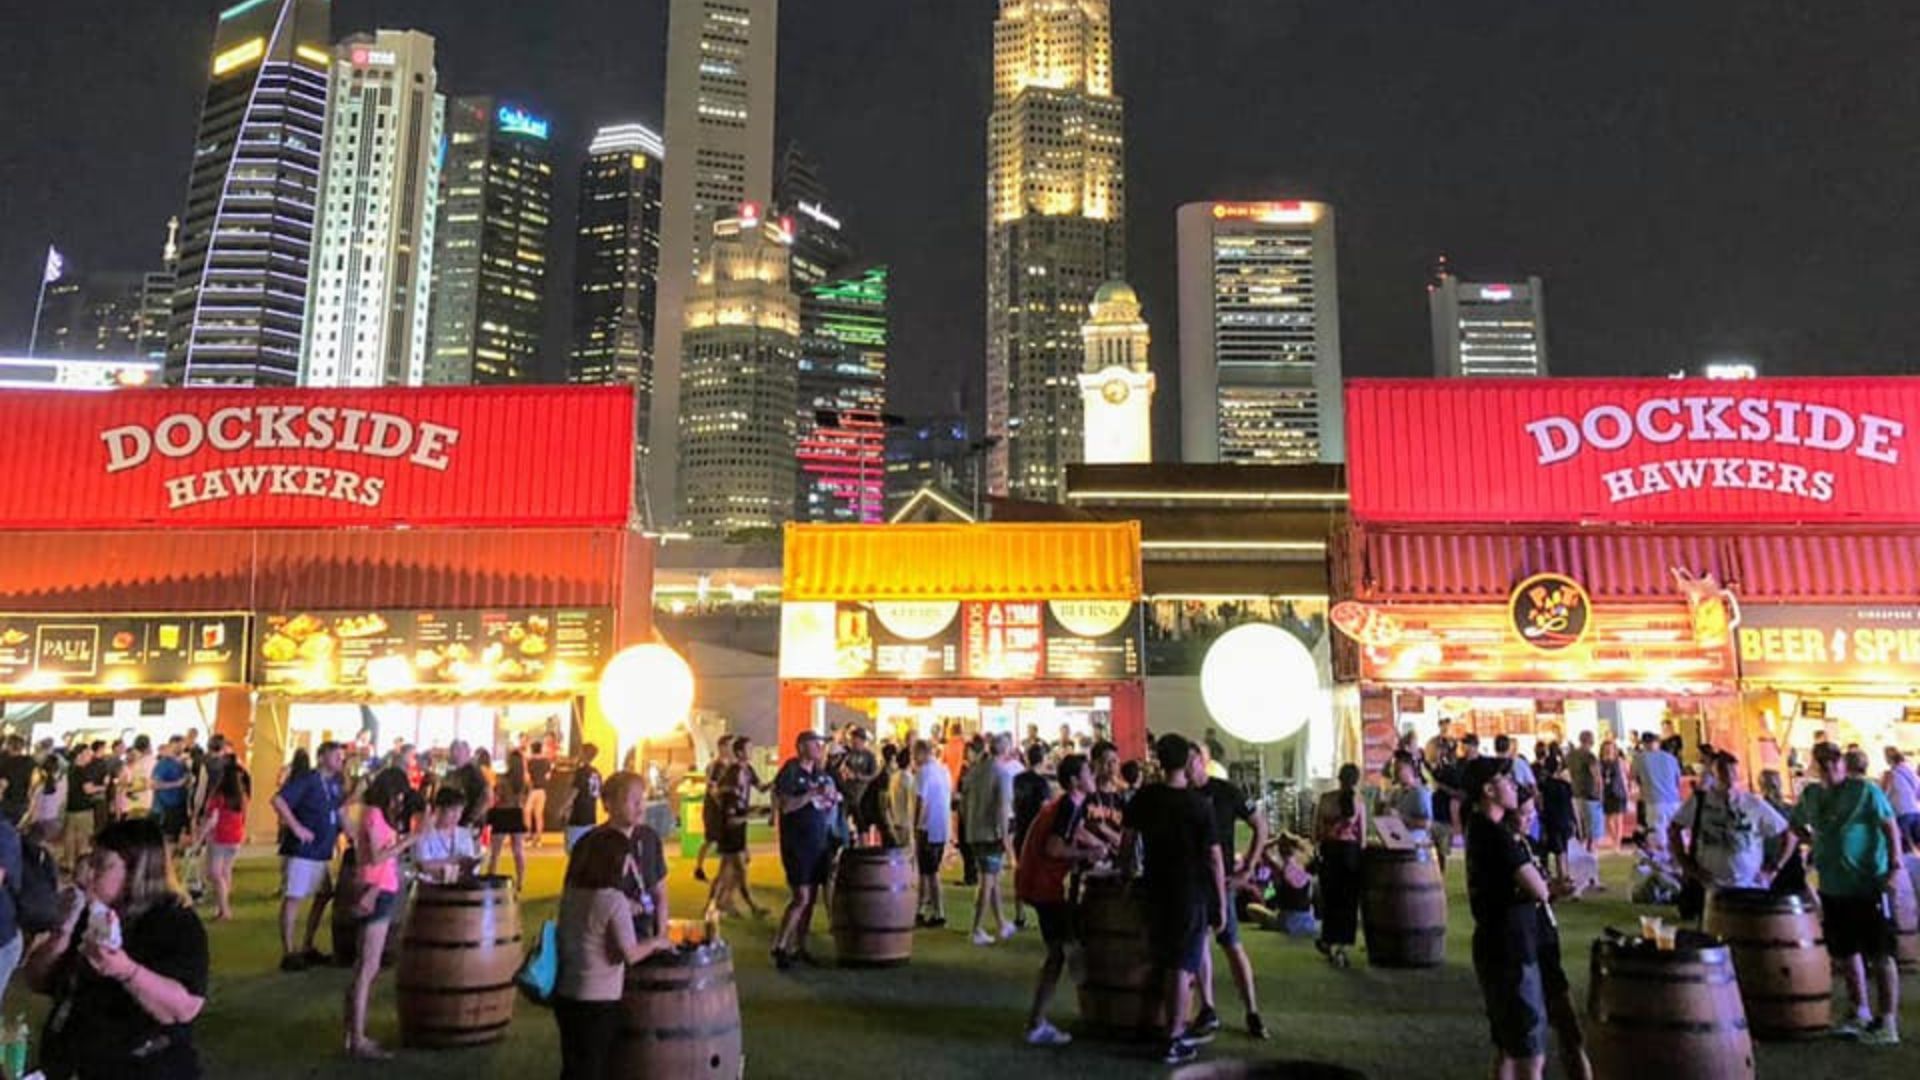
You must determine how water, power, and foul drainage will reach your boundary before committing to a specific site layout. Running a sub-main electrical trench across fifty meters of existing tarmac can easily add ten days and thousands of dollars to your site preparation budget. If you plan to trade from a pop up container during seasonal retail peaks, you might rely on temporary umbilical connections, but long-term operations demand permanent sub-grade ducting that meets commercial trenching depth standards.
We advise our clients to map clear delivery routes long before ordering their unit to prevent expensive logistical hold-ups on installation day:
- Overhead clear heights: Check for low-hanging communication wires, tree canopies, and utility cables that sit lower than five meters along the access route.
- Swing radiuses: Ensure standard articulated transport lorries have sufficient road width to turn into your access gates without clipping neighboring walls or curbs.
- Setback requirements: Confirm the minimum fire separation distance between your container walls and adjacent masonry buildings under local district regulations.
Signs of Permitting Failure and Soil Bearing Inadequacy
Planners reject retail conversions most frequently when applicants submit generic architectural sketches instead of engineered structural drawings that detail aperture reinforcements. If your design removes entire corrugated load-bearing side panels without showing stamped structural calculations, planning officers will halt your submission immediately. You will lose three to four weeks drafting redesigns if you submit non-compliant paperwork during the preliminary review.
Soil bearing capacity presents another critical risk that can sink your project schedule if you skip geotechnical testing. Placing a twenty-foot converted box on uncompacted fill dirt or waterlogged clay causes uneven settlement within weeks of delivery. When the ground yields under the heavy corner castings, the container twists out of square, causing display windows to crack and external doors to jam tightly in their rebates.
Stage 2: How Long Does Structural Modification Take?
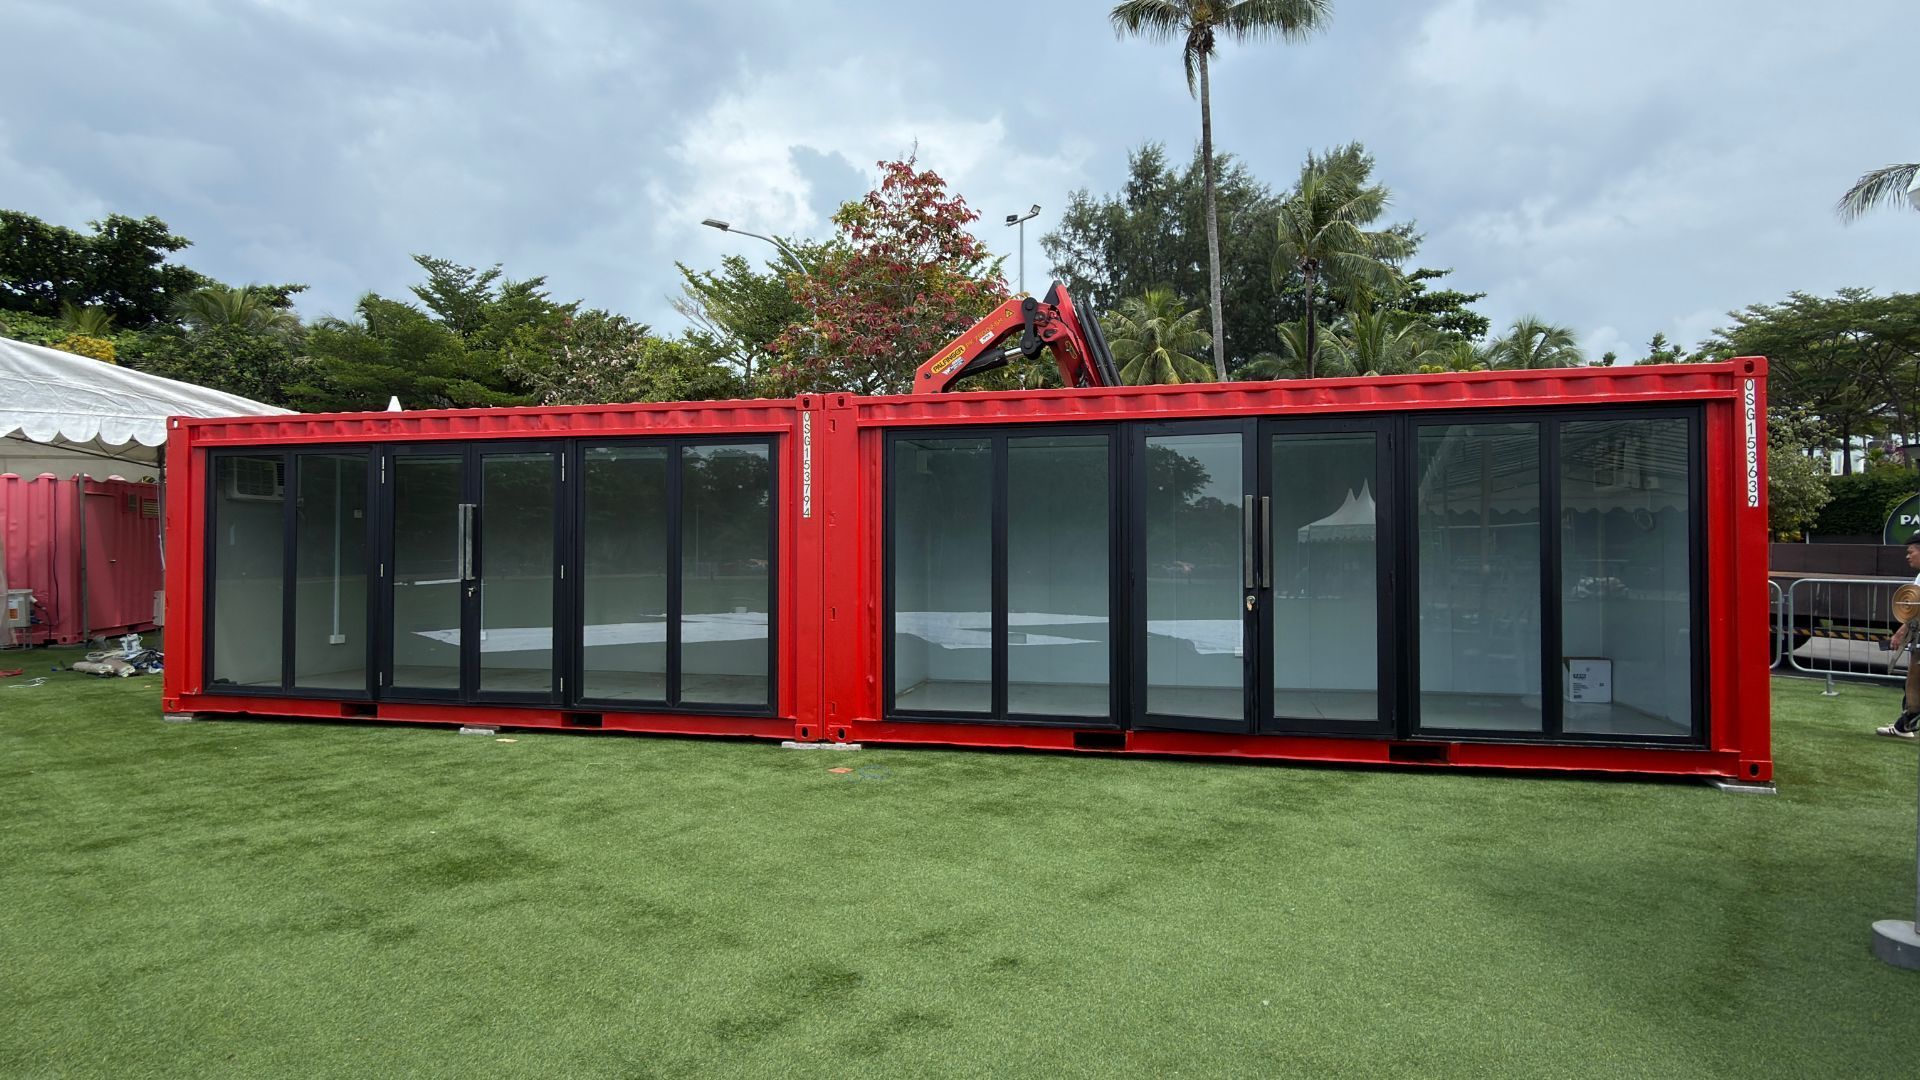
Off-site steel fabrication takes between one and two weeks in a specialized workshop once you finish the paperwork and secure your base box. Corten steel containers derive their immense strength from their corrugated side walls, corner posts, and continuous perimeter rails acting together as a rigid monocoque box. When you cut through those fluted steel sheets to create retail awnings and glass facades, you destroy that engineered integrity unless you weld stiffening profiles into place before moving the unit.
Reinforcing Cutouts for Retail Windows and Entrances
Fabricating modern container shops requires experienced welders who understand how heat affects corrugated steel. Every opening cut into the side panels must receive an internal structural sub-frame fabricated from rectangular hollow sections or heavy-gauge steel channel. Our workshop teams clamp structural members securely to the cut margins before running continuous welds, distributing roof loads back down to the bottom side rails and high-tensile corner posts.
We rely on a strict structural modification routine to ensure the box stays square during transit:
- Corner geometry checks: Measure opposing diagonal corners using laser transits to verify the core shell is completely plumb and square before applying a single torch cut.
- Aperture framing: Tack-weld hollow structural steel tubes along the planned cut perimeter to support the surrounding wall sheets while cutting the panel.
- Lintel integration: Weld a structural box lintel directly below the top rail across wide storefront openings to carry roof loads without sagging.
- Corrosion treatment: Grind raw weld beads flat, treat exposed cut margins with a zinc-rich cold galvanizing primer, and finish with marine-grade polyurethane paint.
Detecting Header Deflection and Corrugated Wall Sagging
The clearest sign of poor modification work is header sag above wide storefront openings or rolling service shutters. When a fabricator cuts out a six-meter side wall and welds in light-gauge stud channel instead of an engineered structural beam, the center of the roof rail sags under its own dead weight. You can spot this failure early by laying a two-meter precision level along the upper aperture frame; any dip exceeding five millimeters indicates imminent glass failure under wind load.
Sagging walls also cause severe diagonal buckling in the corrugated sheets next to your cutouts. This deformation proves that shear forces are transferring unevenly into unsupported metal rather than moving down to the foundation castings. Fixing structural deflections after spray-foam insulation and interior wall claddings are already installed requires expensive teardowns that delay your opening by at least two weeks.
Stage 3: What Does Thermal Fit-Out Require and How Long Does It Take?
Transforming a bare steel shell into a comfortable retail environment takes between one and three weeks of steady internal carpentry. Steel transfers heat rapidly, which means an uninsulated unit turns into an oven in summer and a refrigerator in winter. To prevent moisture damage, you must isolate the internal climate from the steel exterior using continuous thermal breaks and closed-cell barriers.
Installing Vapor Barriers and Non-Combustible Linings
If you build an internal boutique or modular shopbox retail kiosk, you should always choose spray-applied closed-cell polyurethane foam over traditional mineral wool batts. Closed-cell foam adheres directly to the corrugated steel skin, expanding into every corrugation valley and sealing off atmospheric air entirely. This approach eliminates the air gaps where warm, moist retail air touches cold exterior steel, stopping internal water formation completely.
Once the insulation cures, carpenters fix timber or light-gauge steel furring channels using specialized isolation gaskets to break thermal bridging. You should insist on Class A fire-rated wall linings throughout the interior, such as cement-bonded particle board or fire-rated plasterboard. These rigid boards provide a sturdy mounting ground for your retail shelving, display cabinets, and point-of-sale desks while meeting commercial interior flame-spread standards.
Identifying Thermal Bridging and Hidden Condensation
Thermal bridging occurs whenever internal framing studs make direct metal-to-metal contact with the outer container wall. In cold weather, heat migrates rapidly through these conductive contact points, chilling the interior plasterboard surface and creating visible lines of dark, damp ghosting. If your fit-out crew attaches wall furring strips straight to the steel ribs with self-tapping screws without using thermal isolating tape, your wall panels will develop black mold spots within months.
You can identify poor vapor barriers before closing the walls by inspecting the continuity of the foam envelope. Look for hollow spots, pinholes, or thin applications along the floor channels and ceiling corners. Any void left between the insulation and the steel skin creates a pocket where condensation will pool out of sight, gradually rusting the structural panels from the inside out.
Stage 4: How Long Does Commercial Utility Installation Take?
Installing commercial utility systems inside a metal box takes roughly one to two weeks and demands stricter safety practices than conventional timber framing. Because the entire building shell is conductive steel, every circuit wire must pass through protective mechanical conduits to prevent insulation abrasion and electrical shorts. Plumbing lines must be planned so that waste lines achieve the necessary falls within the shallow raised sub-floor cavity.
Balancing High-Draw Circuits and Commercial Waste Plumbing
Outfitting a commercial container cafe requires an entirely different electrical and plumbing strategy than a basic dry-goods boutique or clothing shop. An espresso bar running a dual-group coffee machine, commercial dishwasher, glass-door display fridges, and under-counter ice machines demands an eighty-amp or one-hundred-amp three-phase power supply. Running those high-draw appliances on a standard single-phase residential feed causes frequent breaker trips during morning peak trading hours.
Your plumbing layouts require accurate floor penetrations cut through heavy marine plywood and bottom steel crossmembers. Because containers sit close to grade on pier blocks, you must ensure that your soil pipes exit the floor with enough elevation to drain into the main sewer interceptor without needing loud, high-maintenance macerator pumps:
- Drain falls: Maintain a minimum drop of one in forty on all forty-millimeter waste lines servicing hand sinks and prep benches.
- Grease separation: Install a compact under-sink grease trap to prevent cooking fats and dairy residue from solidifying in shallow external drain pipes.
- Supply isolation: Fit quarter-turn isolation ball valves on every water feed line so you can service leaking taps without shutting off water to your entire business.
Spotting Undersized Breaker Panels and Drainage Trapping Faults
Electricians unfamiliar with commercial hospitality builds often make the mistake of installing domestic load centers that run near maximum capacity under peak load. If your distribution panel runs warm to the touch or hums during midday operation, the main breaker will trip during hot afternoons when air conditioners and refrigeration compressors cycle simultaneously. Always demand a distribution board with at least thirty percent spare pole capacity to handle future equipment additions.
Plumbing errors reveal themselves through lingering sewer odors and slow-draining wash basins. If a contractor omits anti-siphon air admittance valves from the waste stacks, draining a commercial sink creates negative pressure that sucks dry the traps under neighboring basins. Foul sewer air then enters the retail space, violating health inspection standards and creating an uninviting environment for customers.
Stage 5: How Long Do Delivery, Craning, and Handover Take?
The final phase brings the converted unit from the engineering workshop to your retail site, where lifting, levelling, and connection take one to two weeks. While the crane operation itself takes only a few hours, preparing solid concrete foundation pads and hooking into council utilities takes several days of focused work. Finishing this phase quickly lets you hand the keys over to your visual merchandising team on schedule.
Positioning Precision Pier Mounts and Crane Rigging
We prefer reinforced concrete corner piers over full concrete slab foundations for most small-format retail conversions. Corner piers cost less, cure faster, and support the container precisely where the manufacturer designed it to carry loads: at the four structural corner castings. If you run your retail operations from a single twenty-foot container shop, four accurately poured pier pads with embedment steel plates give you a secure, level platform that stays bone-dry above ground runoff.
Lifting the unit onto its pads requires certified crane operators who use the correct rigging equipment:
- Spreader beam rigging: Insist that the crane crew uses an engineered spreader beam rather than direct sling wraps, preventing top rails from crushing inward under lift tension.
- Bottom corner engagement: Secure lifting lugs into the bottom corner castings using rated twist-locks rather than hooking onto flimsy peripheral steel cutouts.
- Landing alignment: Lower the unit slowly onto non-shrink grout levelling shims resting atop your concrete piers, checking alignment against surveyed bench marks.
- Seismic anchoring: Weld the bottom corner castings directly to steel plates embedded in the concrete piers to prevent wind shear and lateral ground movement.
Diagnosing Pad Settling and Door Frame Binding Before Handover
Before you accept the installation and sign off on contractor invoices, you must test every operational door, window, and casement lock across the building. If a foundation pier settles even ten millimeters into soft earth after craning, the structural squareness of the container warps immediately. You will notice this when main glass entrance doors scrape along the floor threshold or when heavy container cargo door latches refuse to turn into their keepers without excessive force.
Check the perimeter reveals around your glass apertures for uneven gaps that show the steel shell is racking under structural tension. If the gap narrows at the top corner while widening at the base, the foundation pier below that corner has dropped. Catching these levelling errors before the crane leaves site lets the installation team jack up the low corner casting and shim it level, avoiding costly structural stress fractures later.
Building a successful retail container requires balancing off-site fabrication speed with detailed on-site foundation preparation. If you map out your utility access, work with licensed engineering specialists, and insist on closed-cell thermal envelopes, your converted retail space will welcome customers within eight to twelve weeks of your first drawing. If you are preparing your own retail deployment, reach out to our engineering team to review site feasibility, foundation loads, and structural cutout specifications before fabrication begins.
Contact us today about our Event & Retail Container Solutions in Singapore NOW!